Friday, June 17, 2011

Graduation Cards

Well all the celebrating has come to an end and I wanted to take time and share a few of the things,
I made this year.


This is the card I made for my Brother all SU! items are retired, I used yo-yo yellow and Brilliant Blue paper to match his school colors.The Great Grads Set is available for download. I thought it was a nice masculine card, I loved the locker designer paper, I found in a stack of paper, I had. By just adding a couple of brads it really added to the dimension of the card.

I also made these cards:

I used SU! retired paper Brilliant Blue & Glorious Green along with SU! Retired Great Grad Set ,but it is available for download if you have Stampin Up! "My Digital Studio". I also used Hostess set "Afterthoughts". My Owl punch and Whisper White and Night of Navy Ribbon along with my New Pal the "Big Shot".
They were great to hold checks or money. I cased the card concept from my up-line Dawn Olfchefske.

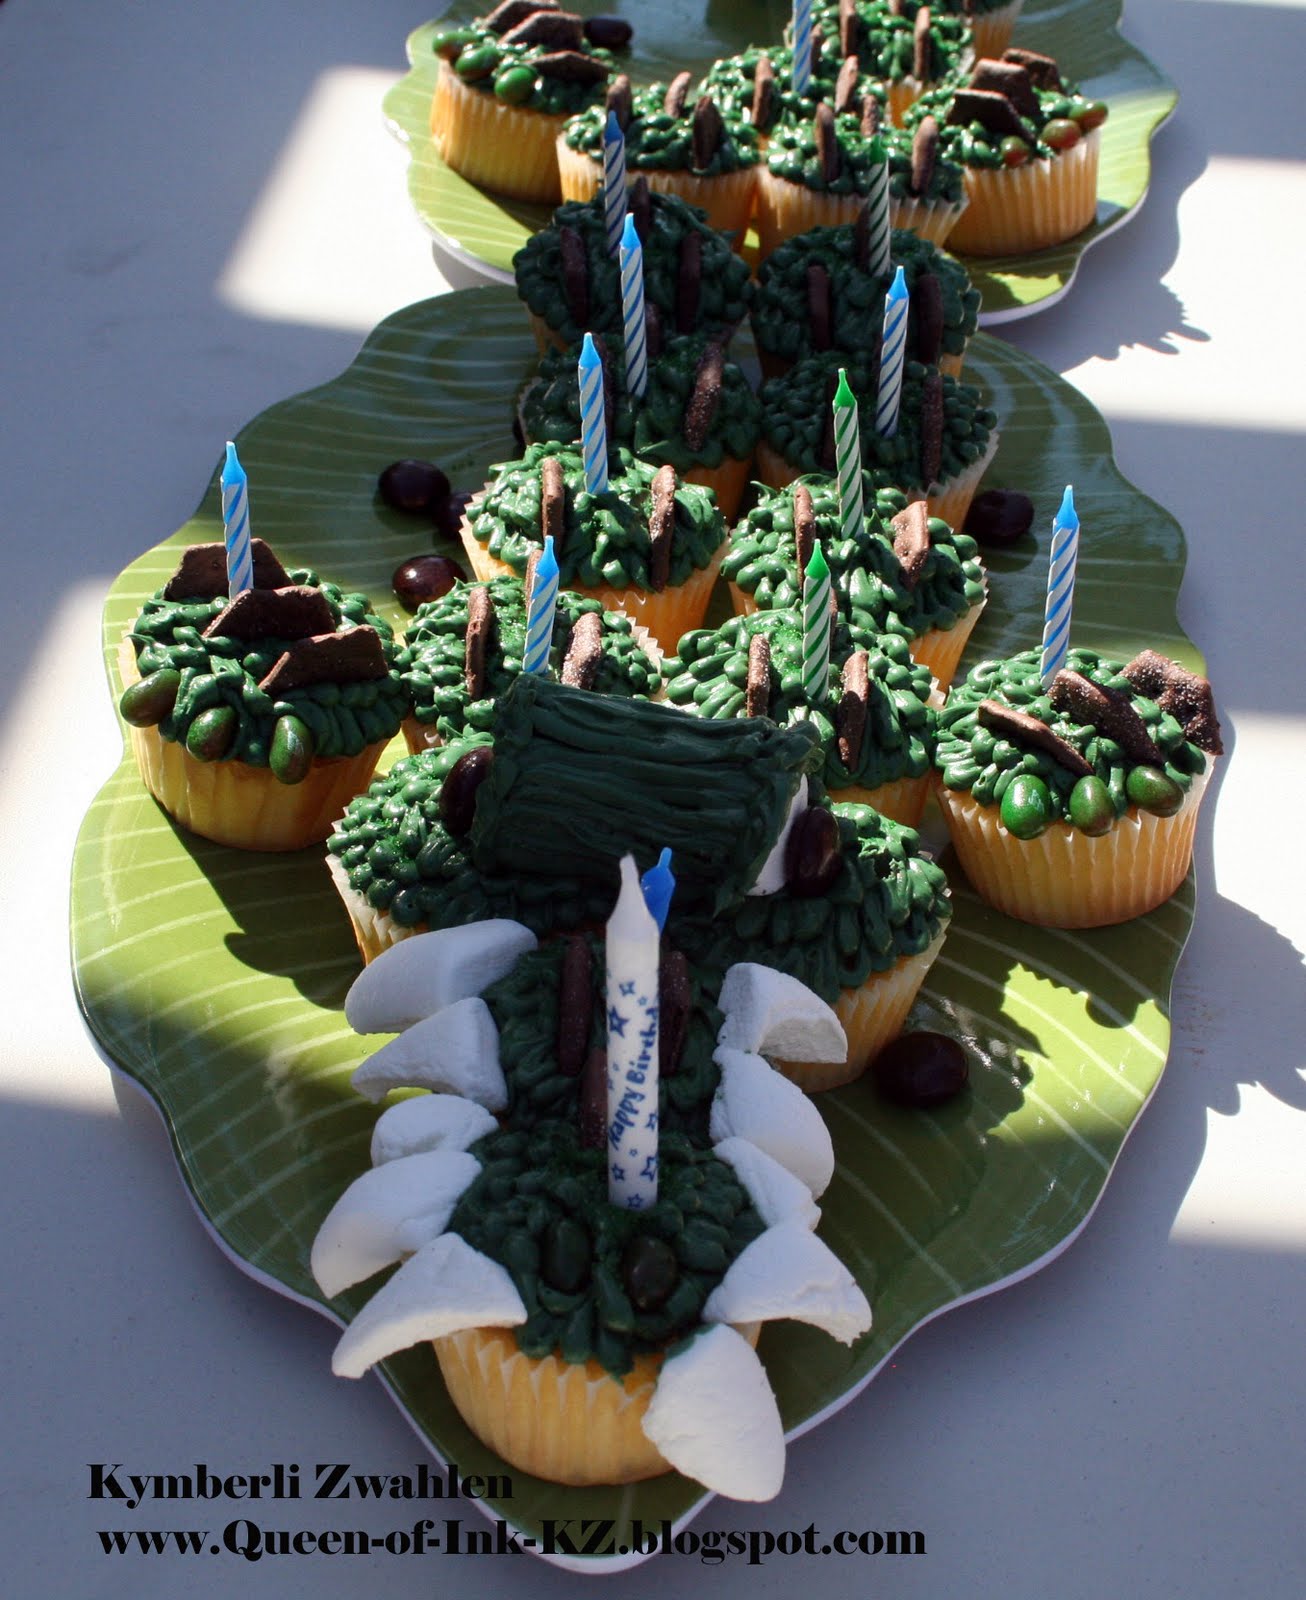
Here are a couple of pictures of the cute toothpick holders,I made.


These toothpicks seemed easy enough because we only had 35 cupcakes...
That's when I realized,I need the Front & Back to be decorated. and each side had 2-3 punched out images. Oh was I glad that was over...lol
They sure looked great and the guests loved them.


Let me know what you think


Thursday, June 16, 2011

Paper Flower Technique Tutorial

 
I love these paper flowers and think they add a great dimension to many craft projects. 
They are pretty simple to put together, 
Here is a step-by-step picture tutorial.


Choose your Card stock and Scallop Circle Punch.
 
Punch 8 Scallop Circles out.

Lightly Mist the card stock with water, 
I don't wet Whisper White because it is a bit thinner than our colored card stock. You can try without water, I just like the the texture and look of the flower after it dries. 
Experiment and see what you come up with.

Crumple each scallop circle.

Un-crumple each scallop circle.
                                                                         
                                                                                                                                                                 
Stack each circle on top of each other.
Use your Paper Piercer and Mat Pack and pierce a hole in the middle of the stack and place a brad in the middle to hold the scallop circles together.

Crumple the scallop circles upwards towards the brad.
 

If they are a little damp let dry and lightly separate and move outwards.

Voila! A cute paper flower.


 Now add to your Project
I hope you can see that all 3 flowers have a bit different texture. The blue had more water than the red and the white had no water.


This tutorial is based on using Stampin' Up! Card Stock
I have used lighter weight paper and card stock the only difference is you will need more than 8 circles to get the fullness you desire. If you are using thin paper no need to lightly mist,
Thinner paper will fall apart or tear when you try to un-crumple. 
So it's best if you just crumple the paper.
If you have any questions please feel free to e-mail me or comment below.
Hope this helps
 I would love to see what you come up with.

Wednesday, June 15, 2011

Happy Birthday Master "D"

Well we survived 12 teenage boys over for the Birthday party and I realized I never posted his invites he designed. He turned 14 and wanted a Shrimp Boil...So here is what he requested.
They were like postcards all the info was on the back I ran the solid sheet's through the Big Shot using one of the texturz plates(114512). I used a retired stamp set for the pot, and I used the designer label punch and four frames stamp set available in the new catalog. 

I also wanted to share the AMAZING Cupcake Cake Miss "A" made for her brother.
The boys loved the alligator "cake" and they were sure "YUMMY"
Related Posts Plugin for WordPress, Blogger...